How-to-Draw Using Pencils

This is a fun technique that will help you in your overall drawing skills. Recreating the old world masters and their studies is a good way to learn drawing directly from the masters themselves. Looking at reference photos or art from the masters and recreating them was actually encouraged and taught to Renaissance students. Let’s Get to It!
What You'll Need
Pencils
- 3H
- 1H
- HB
- 1B
Other Supplies
- Sketch Book
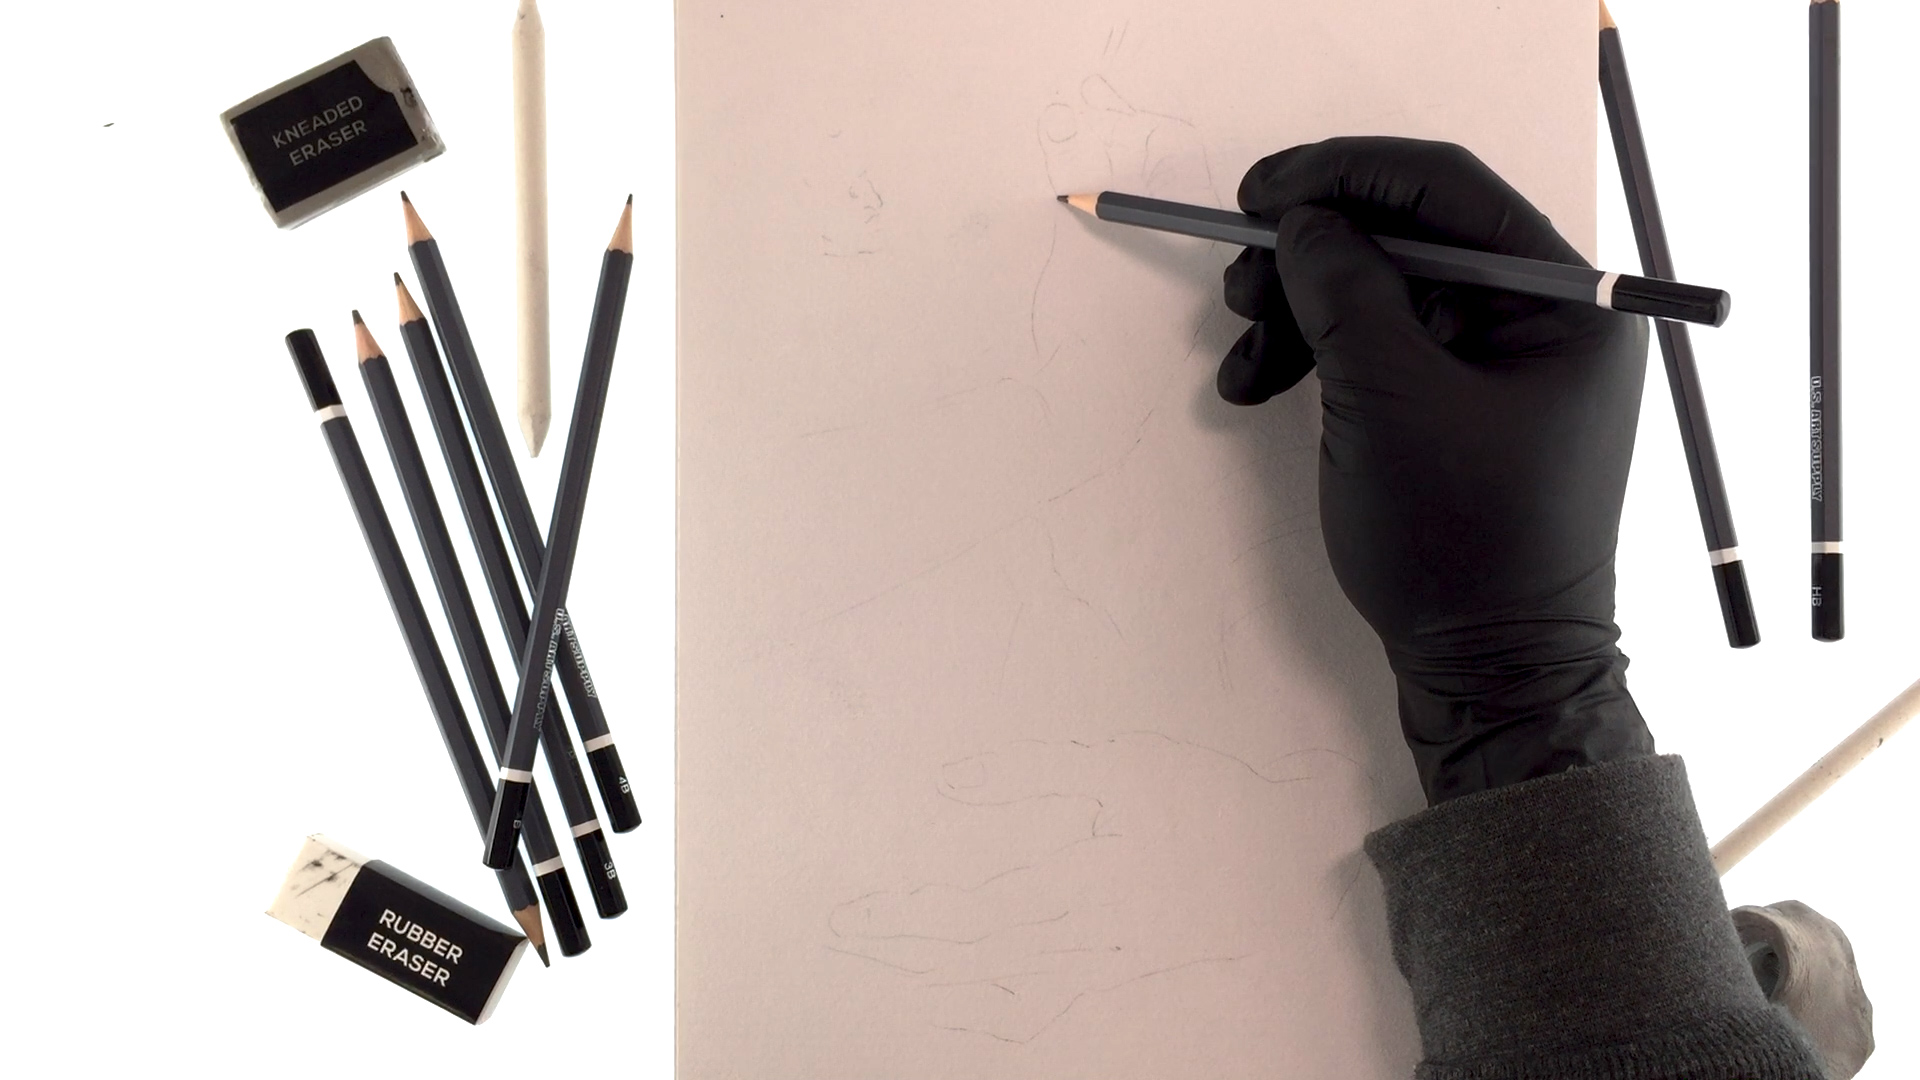
Step 1: Lightly Sketch
Using a 3H Graphite pencil, I lightly sketch out the hands along with all of the little wrinkles in the fingers and fabric.
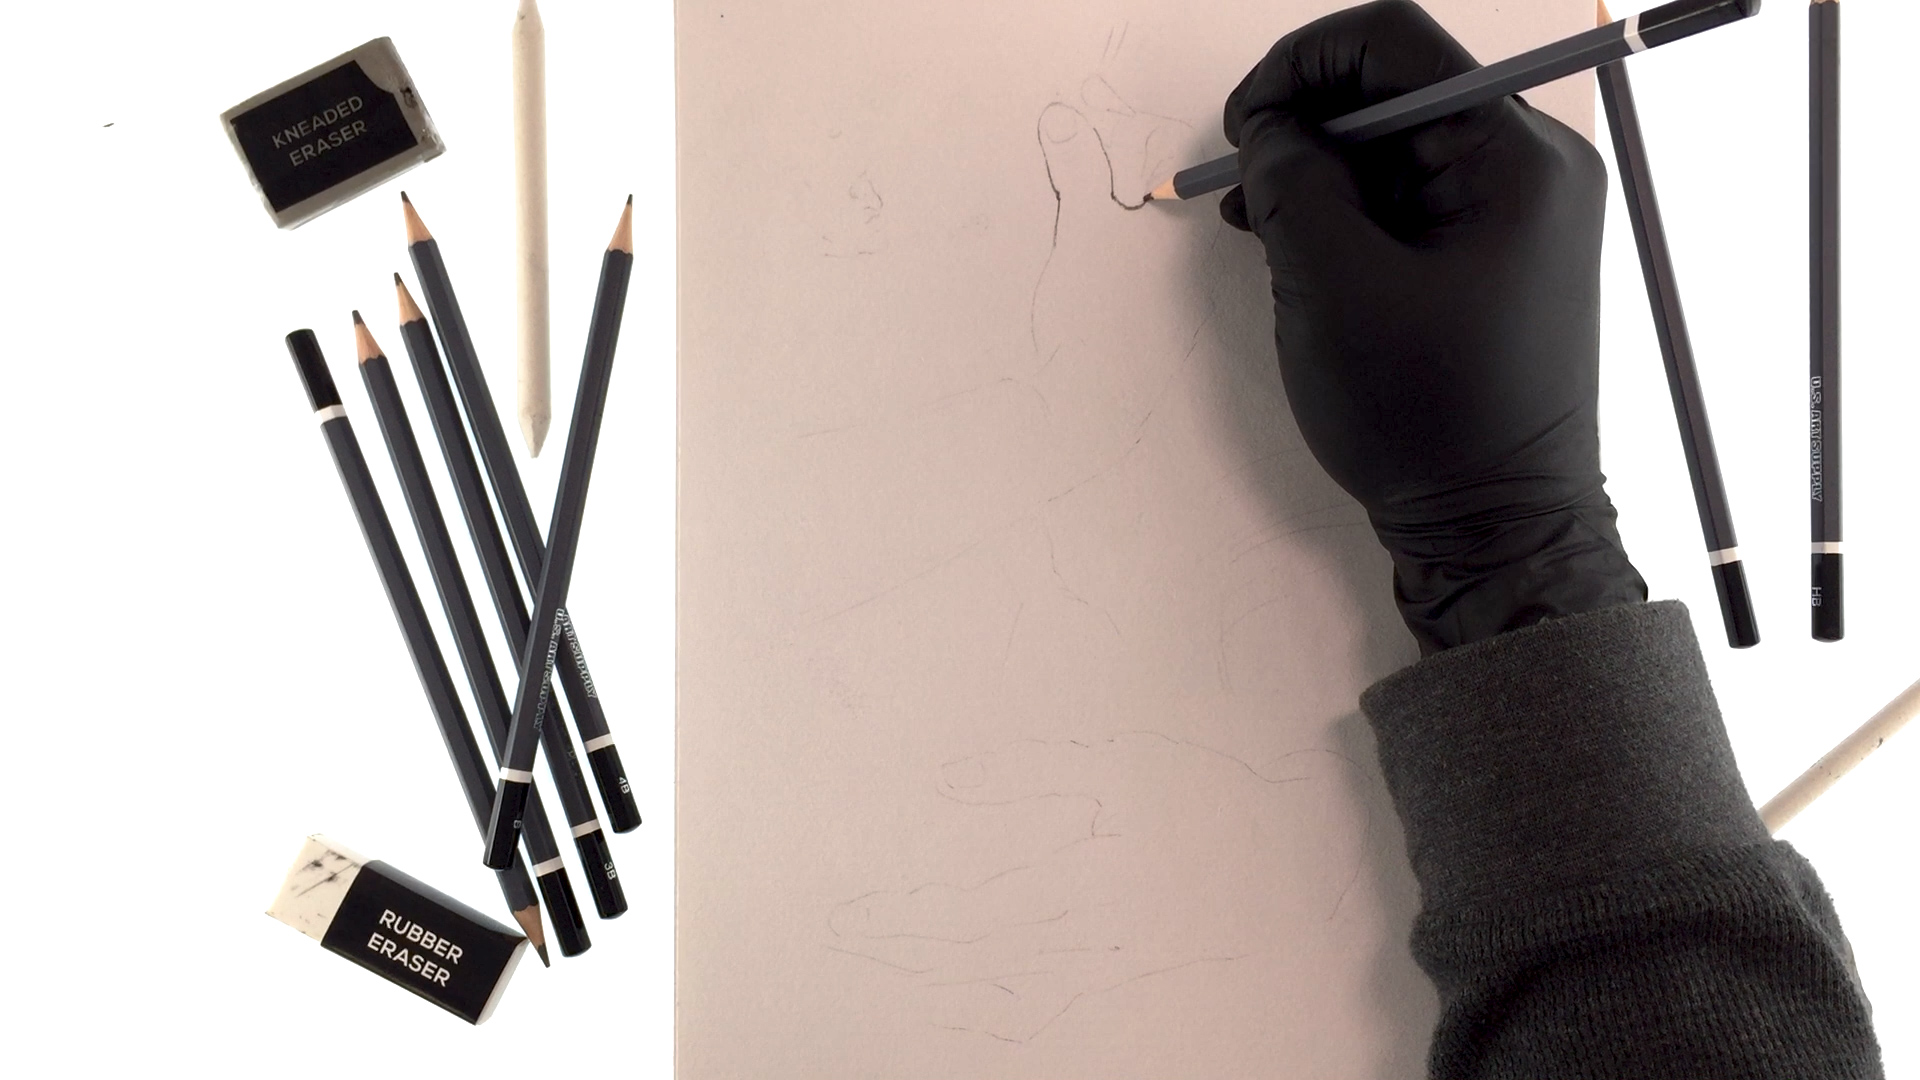
Step 2: Outlining Arms and Hands
Now, I can switch to a darker pencil (1H) for outlining and separating the arms and hands from the paper.

Step 3: Focus on Proportions
As you continue outlining, just focus on getting the proportions right with the darker pencil at this stage as we will make sense of this all later with some shading. Just stay loose and have fun in the sketching stage.
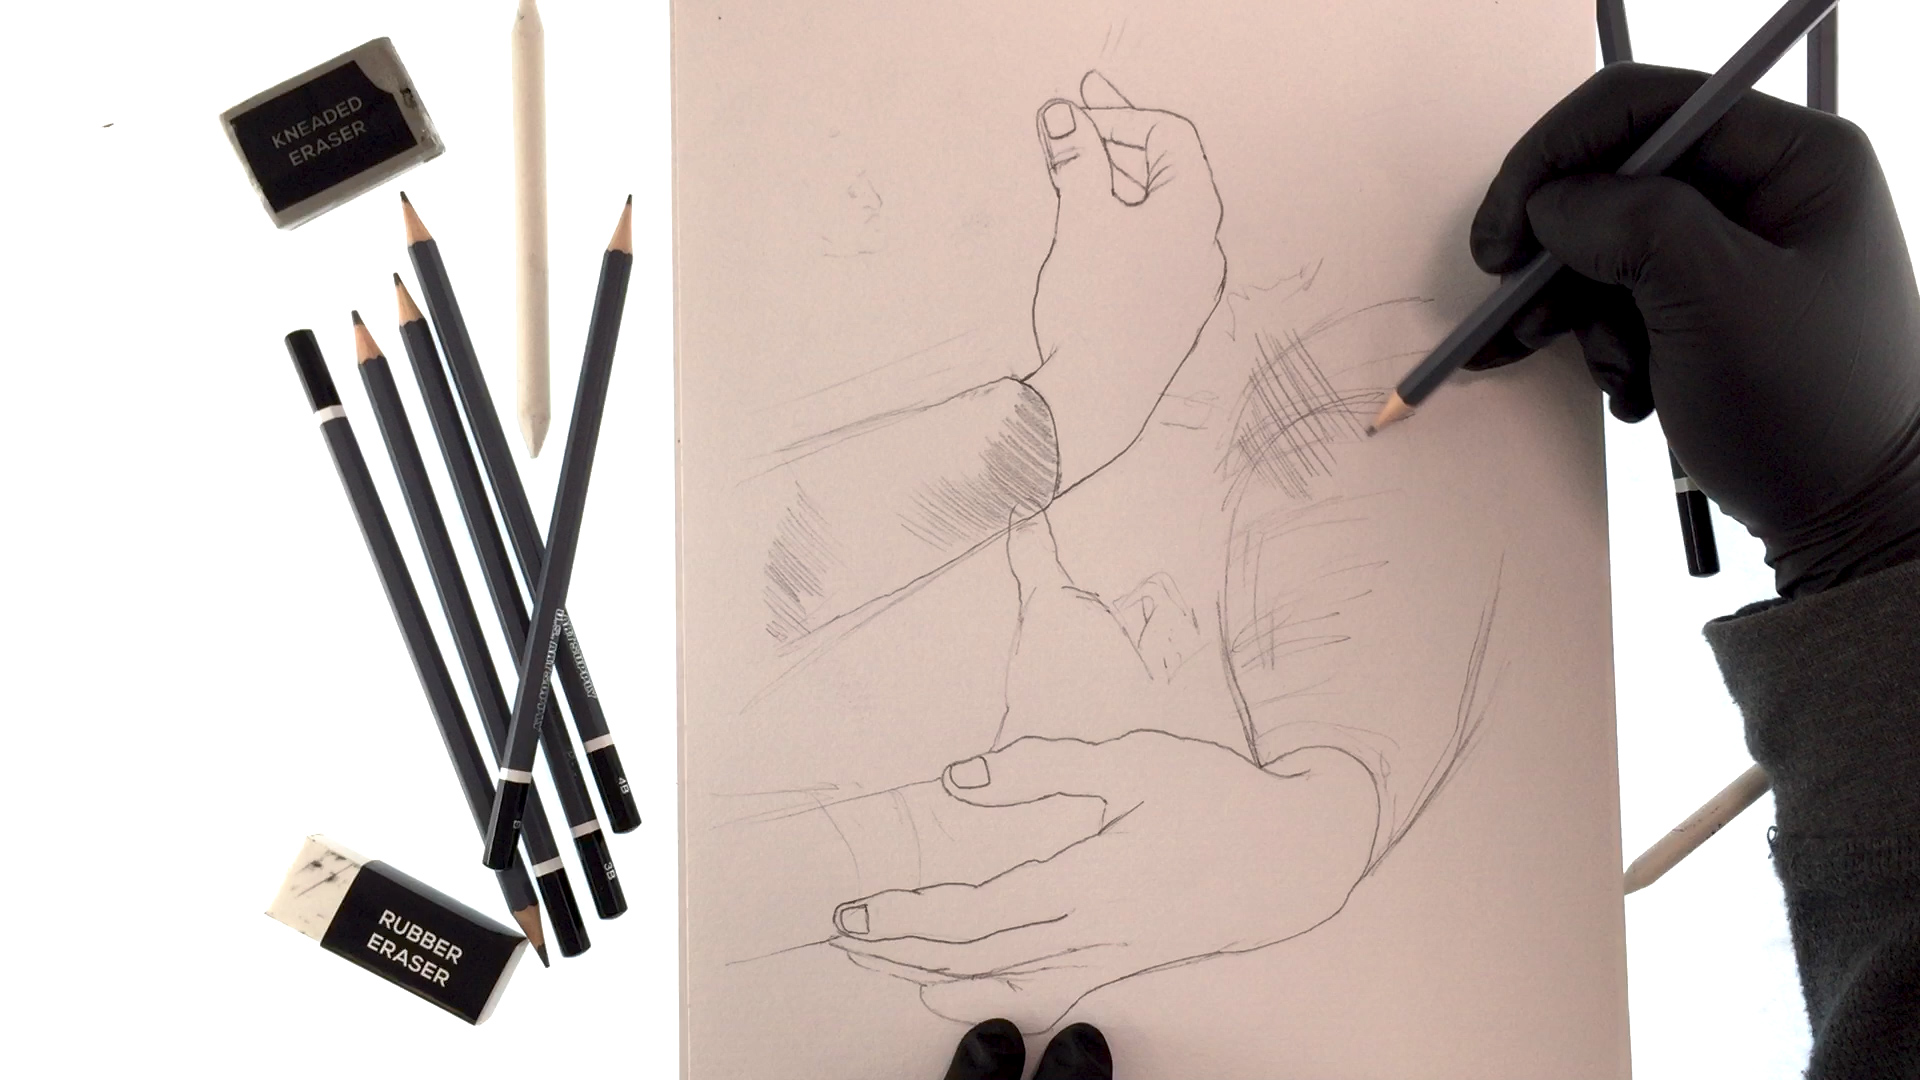
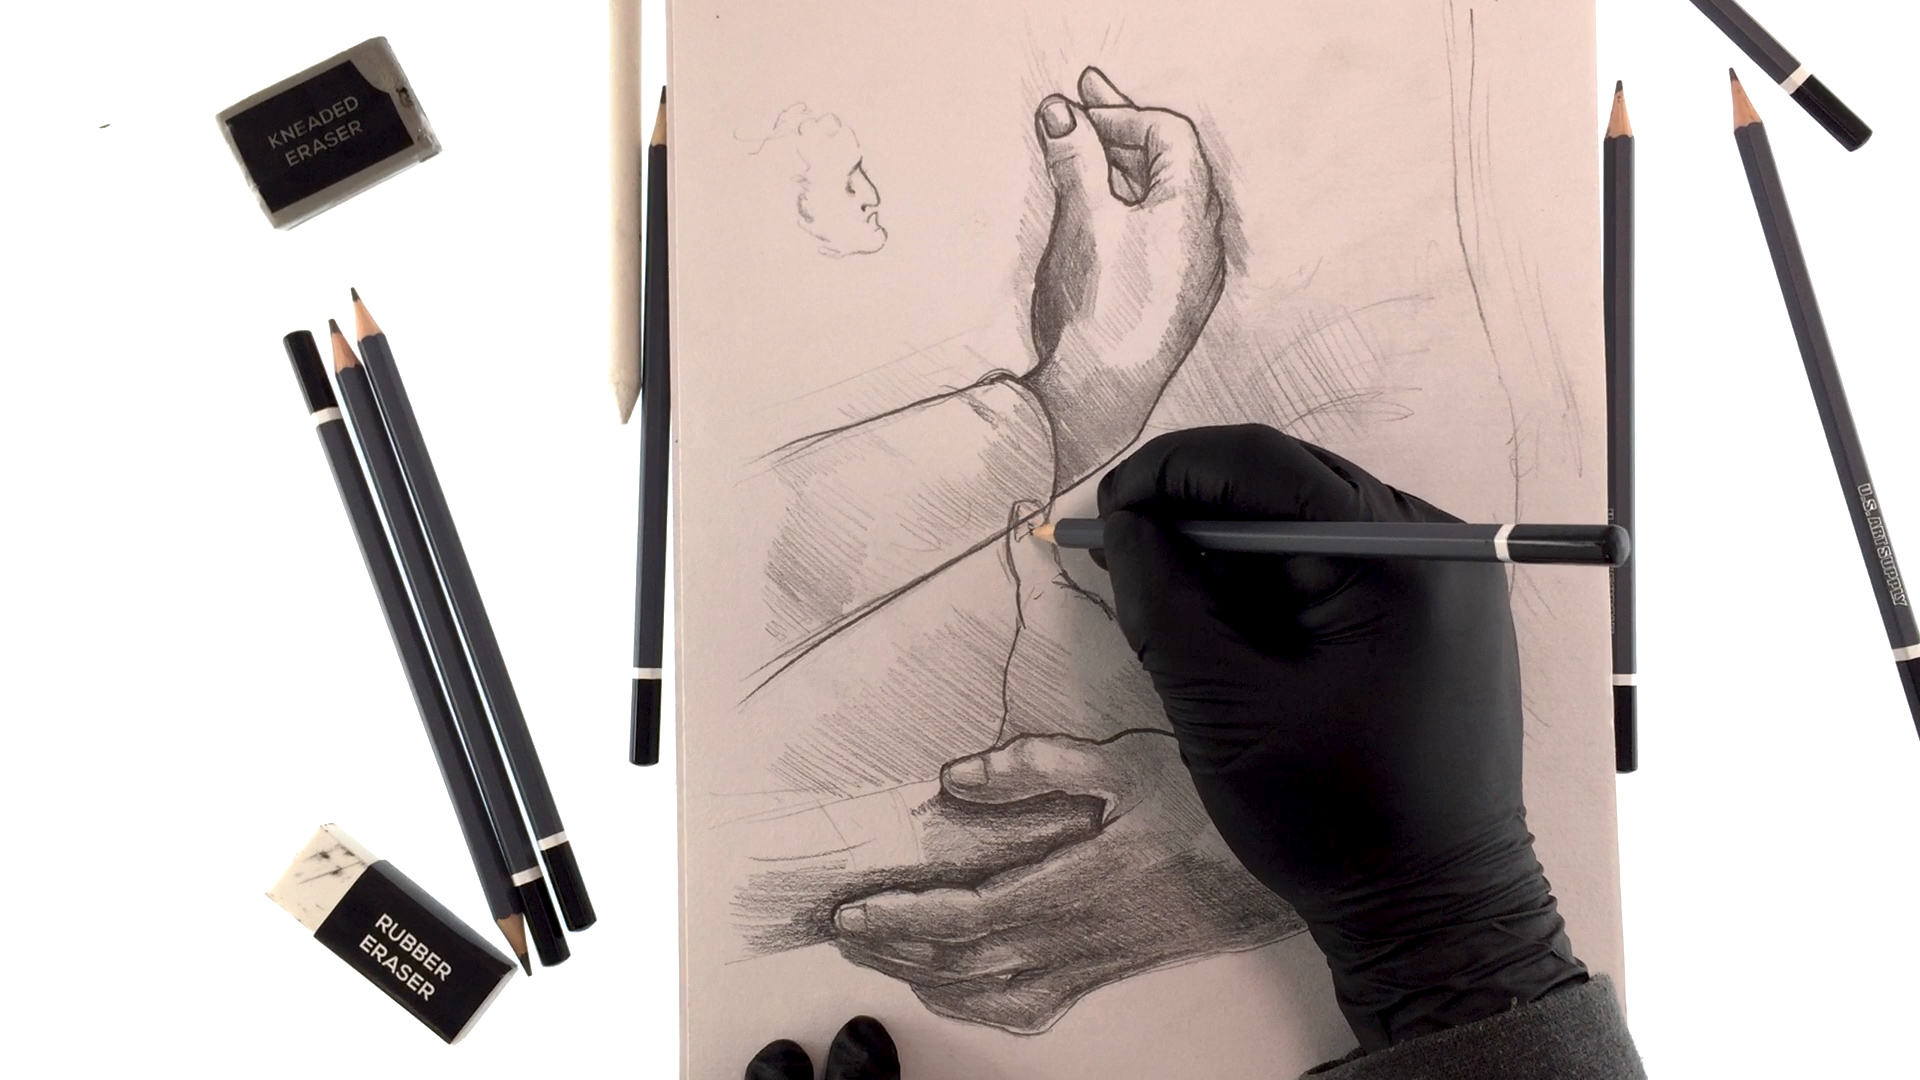
Step 4: Hatch and Crosshatch
Hatching and crosshatching are very effective and efficient techniques used to shade in areas quickly, giving the artist notes of where to add shading; perhaps in a Frescoe painting or a sculpture. Here I have switched to the HB pencil.
Step 5: Lighter Shading
Shading is fun but, keep in mind that the softer the lead, the darker the mark and the harder the lead, the lighter the mark it will make. Also, when you press harder, the darker the stroke you will create and the lighter your stroke the fainter the marking. Keep this in mind when shading.
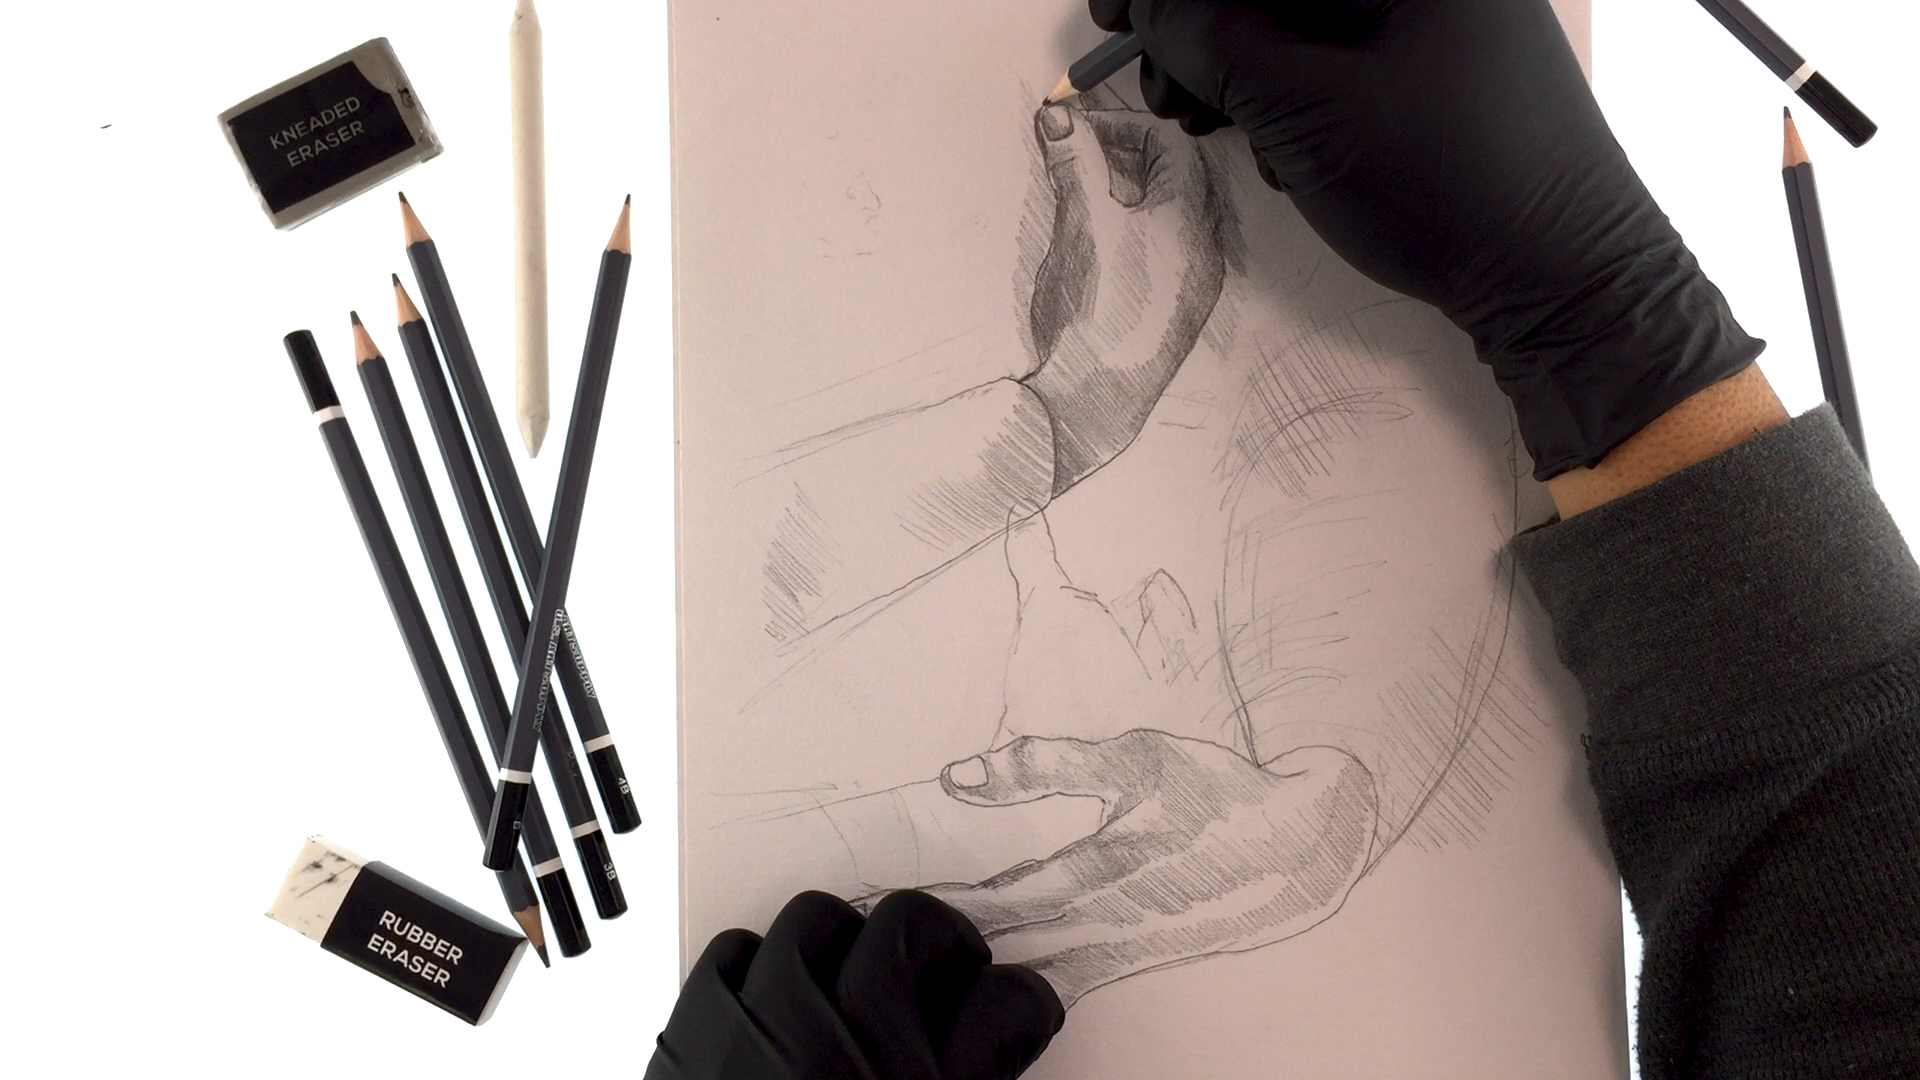
Step 6: Darker Shading
Now, it’s time to switch to the darker and softer 1B lead pencil to build up that great contrast that the masters required. Notice the dark shading occurring on the bottom hand that is holding the opposite resting arm.
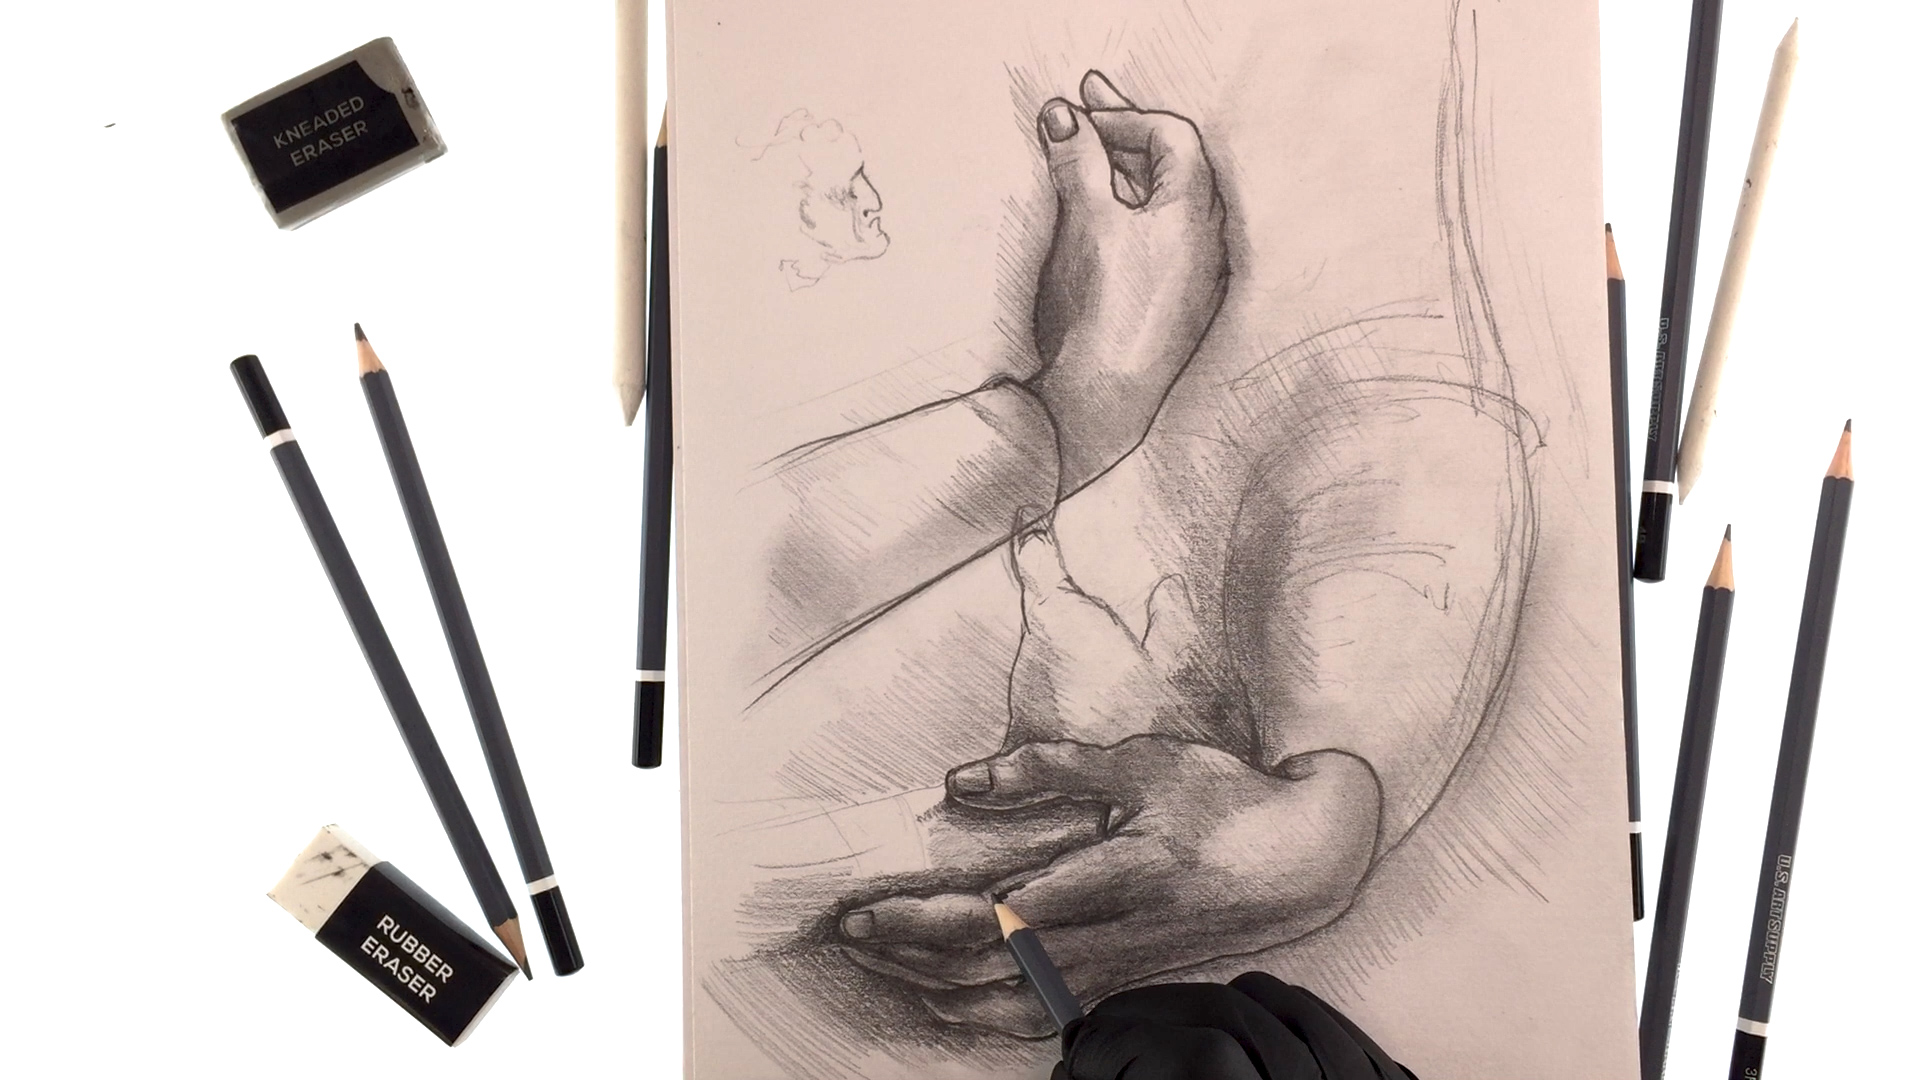
Step 7: Don't Forget the Light Source
As I move along adding more shading to the dark areas, I can really feel like the hands have really come to life with the proper shading according to the light source.
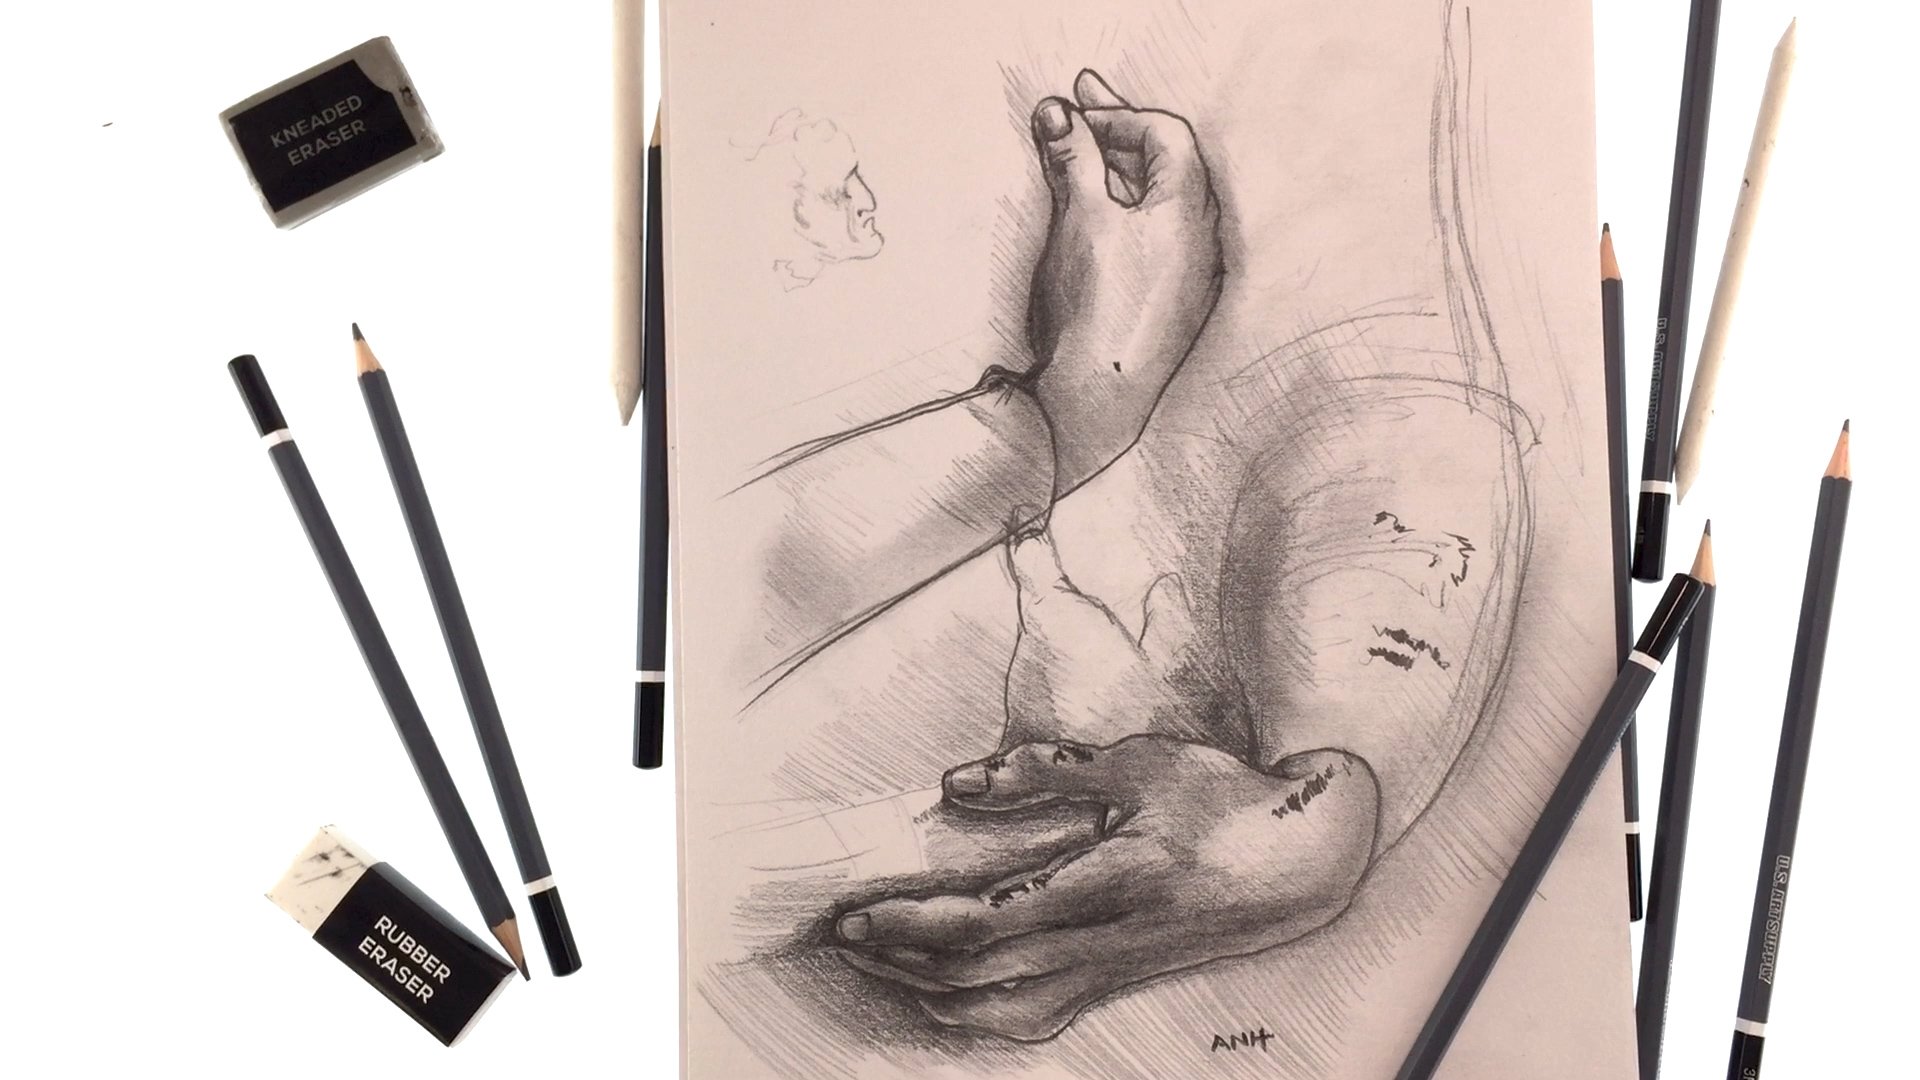
Step 8: Final Details
Drawing from old world masters is so very fun and educational. I’ve learned a lot today as I hope you did too. Thanks for tuning in and join me next time for another fun art session.
Thanks for creating with me today and join us again for another fun US Art Supply tutorial.